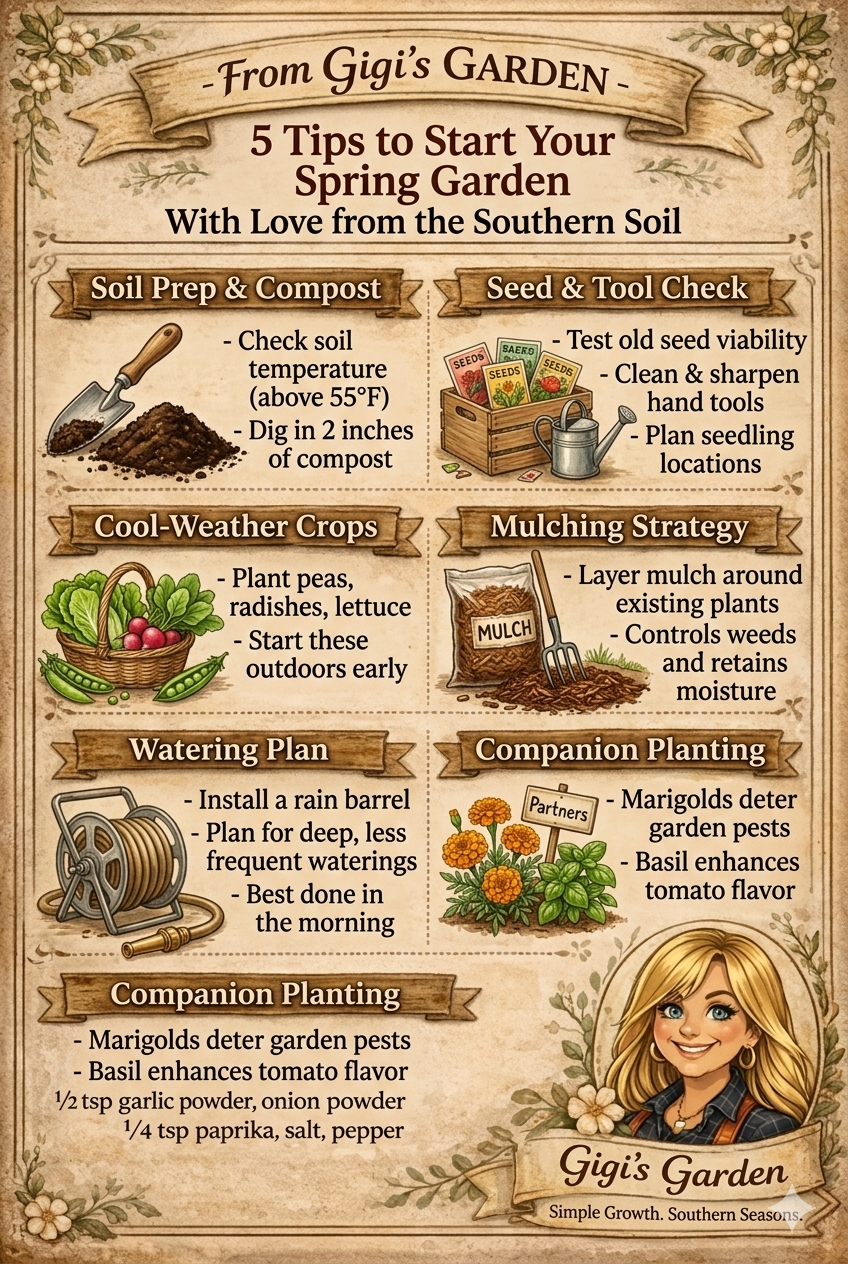
An infographic styled as a vintage recipe card titled "From Gigi’s Garden - 5 Tips to Start Your Spring Garden - With Love from the Southern Soil." The top border is adorned with floral illustrations.

Hello, friend, and welcome back! Can you feel that delicious warmth in the air? Spring is finally whispering (or maybe shouting, depending on where you live!) to us, and in the South, that means one beautiful thing: it’s time to get our hands in the soil.

You know, there’s just nothing quite like the feeling of the first warm sun on your back and the scent of fresh earth. My recipe box is always close, but this time of year, my garden journal is right there beside it. To help you embrace this beautiful season of growth, I’ve gathered up five of my tried-and-true starting tips to give your spring garden a loving, healthy start. So, grab your gloves, and let’s start digging!

1. Waking Up the Earth: Soil Prep & Compost

First things first, we must treat our soil like the precious foundation it is. Before you even think about planting, it’s vital to wake it up the right way. Your soil needs to be warm enough to support new life, so use a simple soil thermometer to ensure the temperature is consistently above 55°F. Once the ground is warm and workable, gently turn the top layer and lovingly work in a generous two inches of rich, nutrient-packed compost. This is like feeding your soil a hearty breakfast—it gives your plants the food and texture they need to build strong, healthy roots right from the start.

Related: Planning a More Self-Sufficient Life Through Gardening and Canning

2. Paws and Plannin’: Seed & Tool Check

There’s nothing more frustrating than finding your favorite tools are rusty or dull just when you need them most! Spend a little quiet afternoon on your porch cleaning and sharpening your pruners, trowels, and hand rakes; they’ll work better for you, and it’s a great way to show them some appreciation. While you’re at it, have a look through your seed collection. Old seeds can sometimes lose their “spark,” so perform a simple germination test by placing a few between damp paper towels to see if they’ll sprout. Once you know what’s viable, you can confidently plan exactly where each future seedling will find its cozy home in your garden bed.

3. Cool-Weather Crops: Planting for an Early Harvest

Don’t wait for the heat of summer to start enjoying the fruits (and vegetables!) of your labor! There are so many wonderful, hardy “cool-weather crops” that just thrive in the gentle sunshine of early spring. Think of sweet peas, crunchy radishes, and all kinds of vibrant, leafy lettuce. You can sow these directly outdoors as soon as the soil can be worked, giving you a beautiful, early harvest before the summer heat arrives. It’s the perfect way to satisfy that gardening itch and get fresh food on your table sooner.

4. Keeping it Cozy: Your Mulching Strategy

Just like a good recipe needs the right toppings, your garden needs a thoughtful “mulching strategy.” Mulch isn’t just for looks, though a neat layer of wood chips or straw certainly does look tidy! Its real magic lies in its ability to suppress stubborn weeds that want to steal water and nutrients, and, more importantly, it helps your soil retain critical moisture on those warmer days. Apply a nice, even layer around your established plants and seedlings (being careful not to crowd their stems). Think of it as tucked-in, protected, and happy.

Related: DIY Gardening: Tips for Starting Your Spring Garden

5. Wise Watering: Your Thoughtful Plan

Last, but certainly not least, let’s talk about watering. How and when you water can make all the difference in the health of your garden. A great first step is to install a rain barrel; it’s a simple, sustainable way to collect mother nature’s finest, chlorine-free water. When you do water, focus on deep, less frequent applications directly to the base of the plant. This encourages roots to grow deep and strong instead of shallow and weak. And for the happiest plants, try to water first thing in the cool of the morning; this allows the water to soak in and the leaves to dry off before the day’s heat and potential fungal issues settle in.

There you have it, friends—my five simple, southern-hearted tips for getting your spring garden off to its best start. Remember, gardening isn’t about perfection; it’s about patience, presence, and a whole lot of love. I’m rooting for you (pun intended!), and I can’t wait to hear about all the beautiful things you grow.

Lisa Crow contributed to this article. She is a true crime junkie and lifestyle blogger based in Waco, Texas. Lisa is the Head of Content at Gigi’s Ramblings and Southern Bred True Crime Junkie. She spends her free time traveling when she can and making memories with her large family which consists of six children and fifteen grandchildren.
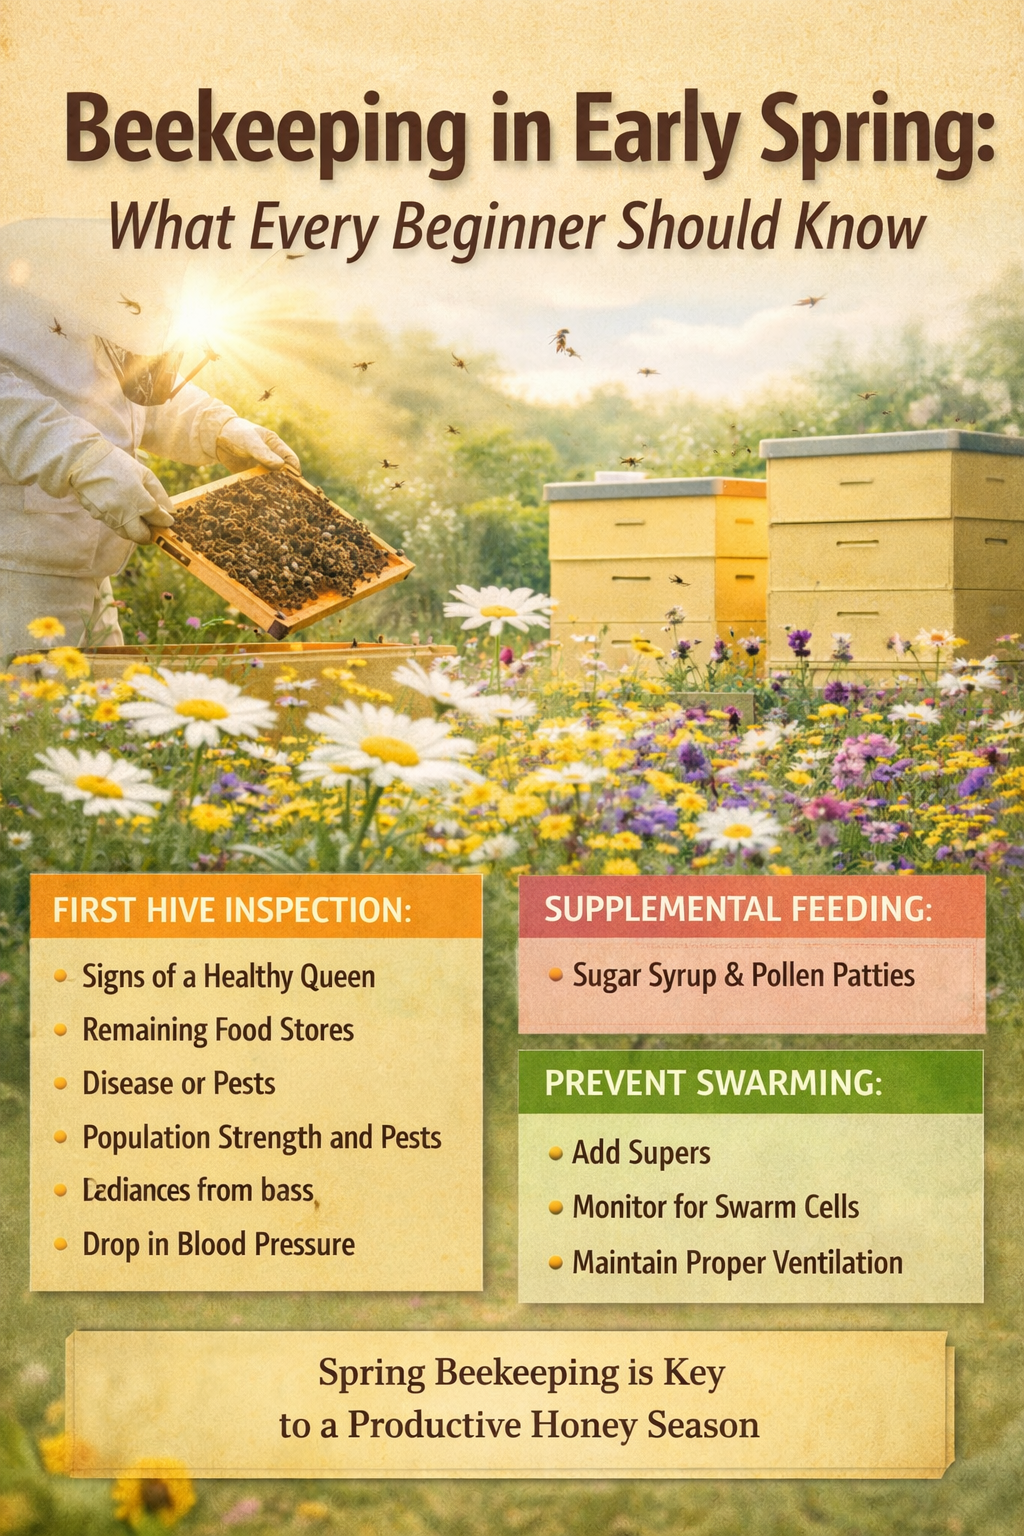
Bright early spring beekeeping scene with sunshine, colorful wildflowers, and pale yellow beehives as a beekeeper inspects a frame, highlighting hive inspection, feeding, and swarm prevention tips.

Why Early Spring Is Critical for Beekeeping

Beekeeping in early spring sets the tone for the entire honey production season. As temperatures begin to rise and flowers start blooming, honey bee colonies shift from winter survival mode into rapid expansion. This transitional period is when careful hive management matters most.

During winter, bees cluster tightly to preserve heat and consume stored honey. However, once consistent daytime temperatures reach around 55°F and above, activity increases. The queen resumes heavier egg laying, foragers begin searching for nectar and pollen, and the colony prepares for growth.

Because of this surge in activity, early spring hive inspections are essential.

First Hive Inspection of the Season

Your first early spring hive inspection should be deliberate and efficient. The goal is not to tear the hive apart but to assess overall colony health after winter.

When inspecting, look for:

  • Signs of a healthy queen, including fresh eggs or capped brood
  • Adequate food stores remaining in the hive
  • Evidence of disease or pests
  • Population strength and overall activity

If brood is present in multiple frames, that is a strong indicator the queen is laying properly. Conversely, if there are no eggs or larvae, further monitoring may be necessary.

It is also important to choose a warm, calm day for this inspection. Opening a hive during cold or windy weather can stress the colony.

Feeding Bees in Early Spring

In many regions, nectar flow has not fully begun in early spring. Therefore, supplemental feeding may be required to prevent starvation while brood production increases.

Beekeepers often use sugar syrup in a 1:1 ratio during this period to mimic nectar flow and stimulate the colony. Additionally, pollen patties may be provided if natural pollen sources are scarce.

However, feeding should be monitored closely. Overfeeding can limit space for brood expansion, while underfeeding can weaken the colony just as it needs strength for growth.

Balancing this support is part of effective spring hive management.

Preventing Swarming Before It Starts

As colonies expand rapidly in spring, swarming becomes a real possibility. Swarming is a natural reproductive process where a portion of the colony leaves with the old queen to establish a new hive. While natural, it can reduce honey production and colony strength.

To reduce swarming risk:

  • Provide adequate space by adding supers
  • Monitor for swarm cells
  • Ensure proper ventilation
  • Maintain strong but not overcrowded brood boxes

Early intervention is far easier than chasing a swarm later.

Managing Pests and Hive Health

Spring is also the time to assess pest levels, particularly Varroa mites. These parasites weaken bees and spread viruses that can devastate colonies.

A mite count early in the season allows beekeepers to determine if treatment is necessary before population levels explode. Healthy colonies going into late spring and summer are far more productive and resilient.

Additionally, look for signs of foulbrood or other bacterial infections. Catching issues early protects not only your hive but nearby colonies as well.

Equipment Preparation for Spring Beekeeping

Before peak nectar flow begins, make sure all equipment is ready. This includes:

  • Clean hive boxes and frames
  • Functional smokers and hive tools
  • Protective gear in good condition
  • Additional supers for honey storage

Preparation prevents rushed decisions during busy weeks ahead. Spring moves quickly in the beekeeping world.

A Personal Note About Bees and Safety

Beekeeping in early spring is rewarding and essential for colony success. However, it also demands respect for the insects involved.

Personally, I do not handle bees or anything else with a stinger. I am highly allergic and begin swelling immediately after a sting, which puts me at risk for anaphylaxis. For some people, a sting is temporary discomfort. For others, it can escalate fast. Because of that, I do not take chances.

If you are considering beekeeping and have a history of severe allergic reactions, consult a medical professional before starting. Protective gear helps, but understanding your health risks matters just as much as understanding hive management.

Final Thoughts on Early Spring Beekeeping

Early spring beekeeping is about preparation, observation, and proactive management. By inspecting hives, supporting nutrition, preventing swarms, and monitoring pests, you set your colony up for a strong honey season.

While honey bees are vital pollinators and fascinating to watch, they also deserve caution and respect. Whether you are an experienced beekeeper or just starting out, early spring is the season that shapes everything that follows.

Lisa Crow contributed to this article. She is a true crime junkie and lifestyle blogger based in Waco, Texas. Lisa is the Head of Content at Gigi’s Ramblings and Southern Bred True Crime Junkie. She spends her free time traveling when she can and making memories with her large family which consists of six children and fifteen grandchildren.

Planning your garden

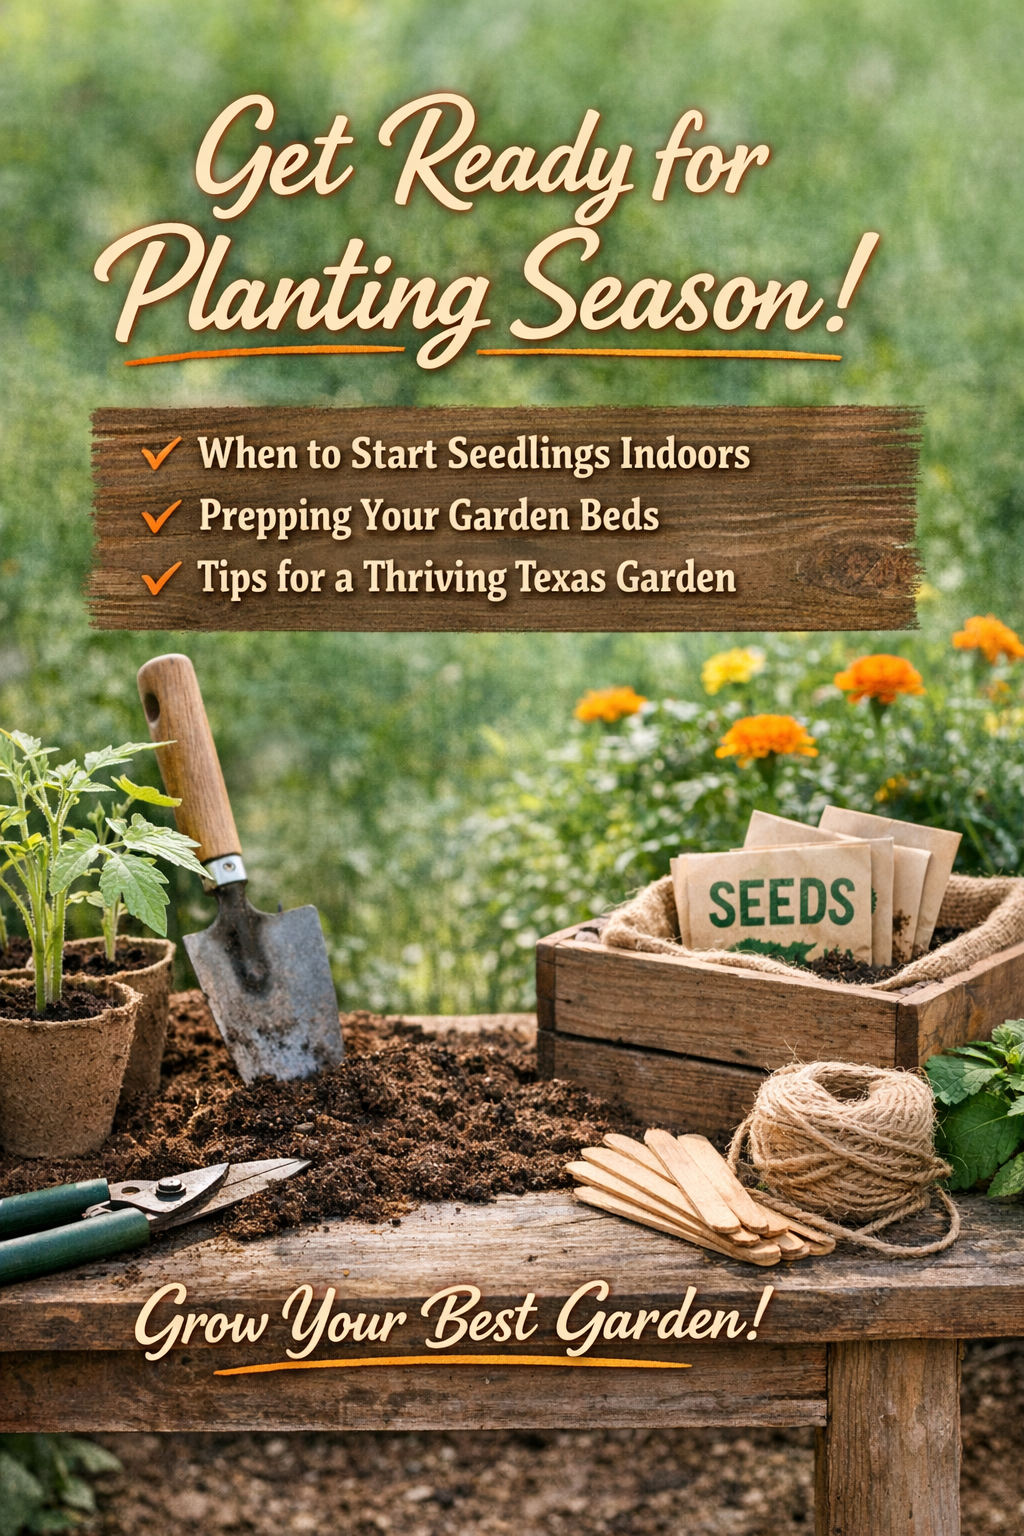
Getting a jump on gardening season starts long before you ever stick a shovel in the dirt. The secret to a lush, productive garden is timing and preparation. When you know when to start your seedlings indoors and how to prep your garden beds ahead of planting time, you set yourself up for fewer problems and better harvests.

Whether you are growing tomatoes, peppers, herbs, or flowers, a little planning now saves you a whole lot of frustration later.

Why Starting Seeds Indoors Matters

Starting seeds indoors gives your plants a head start. Instead of waiting on unpredictable spring weather, you get strong seedlings ready to go the moment the soil warms up.

Indoor starting is especially helpful for slow-growing plants like tomatoes, peppers, eggplants, and many flowers. These plants need weeks to mature before they can handle outdoor conditions.

By the time your neighbors are just planting seeds, you are already putting healthy young plants into the ground.

Related: Planning a More Self-Sufficient Life Through Gardening and Canning

When to Start Your Seedlings Indoors

The timing depends on your last average frost date. Most seed packets list how many weeks before that frost date you should start indoors.

For most areas in Texas and the South, the average last frost falls between late February and mid March. That means most seedlings should be started between mid-January and early February.

Here is a simple guide for common garden plants:

  • Tomatoes, peppers, and eggplants: Start 6 to 8 weeks before last frost
  • Broccoli, cabbage, and cauliflower: Start 6 to 8 weeks before last frost
  • Herbs like basil and parsley: Start 6 to 10 weeks before last frost
  • Flowers like marigolds and zinnias: Start 4 to 6 weeks before last frost
  • Cucumbers, squash, and melons: Start 3 to 4 weeks before last frost or direct sow later

If you start too early, seedlings become leggy and weak. If you start too late, you lose valuable growing time.

How to Start Seeds Indoors the Right Way

  • Use clean containers with drainage holes. Seed starting trays, yogurt cups, and recycled containers all work as long as excess water can escape.
  • Use a light seed starting mix, not heavy garden soil. Regular soil holds too much moisture and can cause rot and fungus.
  • Plant seeds at the depth listed on the packet. Many small seeds just need to be pressed into the soil and lightly covered.
  • Water gently. Mist or bottom water to avoid washing seeds away.
  • Place seedlings in bright light. A sunny window is not always enough. Grow lights help prevent tall, skinny plants.
  • Keep soil warm. Most seeds like soil around 70 to 75 degrees to sprout.

Hardening Off Before Transplanting

Before seedlings go into the garden, they must be hardened off. This means slowly exposing them to outdoor conditions.

Start by placing them outside in the shade for one to two hours a day. Increase the time and sunlight over a week. This prevents shock and leaf burn.

Skipping this step is one of the fastest ways to kill healthy seedlings.

Related: DIY Gardening: Tips for Starting Your Spring Garden

How to Prep Your Garden Before Planting

Prepping your garden early makes planting season smoother and more productive.

Clean Out Old Debris

Remove dead plants, weeds, and leftover mulch. This gets rid of pests and disease that may have overwintered in your soil.

Test and Improve Your Soil

Healthy soil grows healthy plants. Add compost, aged manure, or organic matter to improve drainage and nutrients.

If your soil is heavy clay, add compost and coarse material to loosen it. If it is sandy, compost helps it hold moisture.

Loosen the Soil

Use a shovel, fork, or tiller to loosen soil at least 8 to 12 inches deep. This helps roots grow strong and deep.

Add Fertilizer

Before planting, mix in a balanced organic fertilizer or compost. This gives seedlings a nutrient boost right when they need it.

Plan Your Layout

Decide where each crop will go. Keep tall plants from shading shorter ones. Group plants with similar watering needs together.

This prevents overcrowding and helps avoid disease.

When Your Garden Is Ready for Planting

Your soil should be workable, not soggy. If you squeeze a handful and it stays in a wet clump, it is too wet. Wait a few days.

Once the danger of frost has passed and the soil is warm, it is time to transplant your seedlings.

Final Thoughts

Starting seeds indoors and prepping your garden ahead of time is the secret to a thriving growing season. It gives you stronger plants, earlier harvests, and fewer problems down the road.

A little work now means you get to enjoy watching your garden flourish instead of scrambling to catch up later.

Lisa Crow contributed to this article. She is a true crime junkie and lifestyle blogger based in Waco, Texas. Lisa is the Head of Content at Gigi’s Ramblings and Southern Bred True Crime Junkie. She spends her free time traveling when she can and making memories with her large family which consists of six children and fifteen grandchildren.

basket of acorn squash sitting on the counter

As I learn more about gardening, preserving food, and living more frugally in general, I’ve been pushing myself to try things I’ve honestly overlooked for years. When I spotted acorn squash on sale at H-E-B and heard how easy they are to grow, it felt like the perfect excuse to finally give them a shot. Cheap, versatile, and garden-friendly? That’s my kind of experiment.

What Is Acorn Squash?

Acorn squash is a winter squash with dark green skin, deep ridges, and sweet yellow-orange flesh. Despite the name, it doesn’t taste nutty. Instead, it has a mild, slightly sweet flavor that works well in both savory and sweet dishes.

It’s affordable, filling, and easy to store, which makes it a great option if you’re trying to stretch your grocery budget or rely less on processed foods.

Why Acorn Squash Makes Sense for Frugal Living

This is one of those foods that quietly checks all the boxes.

Acorn squash is usually inexpensive, especially in fall and winter. One squash can feed two to four people depending on how it’s prepared. It stores well for weeks, sometimes months, without any special equipment. Even better, it’s packed with fiber, potassium, and vitamins A and C, so it pulls its weight nutritionally.

When you’re learning to be more intentional with food choices, this kind of versatility really matters.

Growing Acorn Squash at Home

If you’re considering growing your own food, acorn squash is often recommended for beginners.

It grows on vines, so it does need space. A single plant can spread several feet, but it produces generously. It prefers full sun and well-drained soil and does best when planted after the danger of frost has passed.

From planting to harvest, you’re looking at about 80 to 100 days. You’ll know it’s ready when the skin turns dark green, feels hard, and resists puncture from a fingernail.

Even if you’re new to gardening, this is a low-maintenance crop that rewards you for your effort.

How to Store and Preserve Acorn Squash

Whole acorn squash can be stored in a cool, dry place for several weeks. A pantry or storage closet works just fine.

Once cut, keep it in the refrigerator and use it within a few days. Cooked acorn squash freezes well too. You can mash it, cube it, or roast it first, then freeze portions for future meals. That’s a big win if you’re trying to cut down on waste and avoid last-minute grocery runs.

Related: Planning a More Self-Sufficient Life Through Gardening and Canning

Easy Ways to Cook Acorn Squash

One reason I’m enjoying experimenting with acorn squash is how simple it is to prepare.

Roasting is the most common method. Just slice it in half, scoop out the seeds, brush with oil, season, and roast until tender. The natural sweetness really comes through.

You can also microwave it for a quicker option, steam it, or even slice it into wedges for roasting like potatoes.

Simple Acorn Squash Recipe Ideas

Here are a few beginner-friendly ideas that don’t require fancy ingredients:

Classic Roasted Acorn Squash
Halve the squash, drizzle with oil, season with salt and pepper, and roast until fork-tender.

Savory Stuffed Squash
Fill roasted halves with ground meat, rice, beans, or leftover veggies. It’s a great clean-out-the-fridge meal.

Sweet Cinnamon Squash
Roast with a little butter, cinnamon, and brown sugar for a simple side dish.

Mashed Acorn Squash
Mash cooked squash with butter and seasoning as a budget-friendly alternative to mashed potatoes.

Health Benefits of Acorn Squash

Acorn squash also brings solid health benefits to the table, which makes it even more appealing when you’re trying to eat better without spending more. It’s high in fiber, which supports digestion and helps you feel full longer, making meals more satisfying. Acorn squash is also a good source of potassium for heart health, along with vitamins A and C that support immune function and overall wellness. For a budget-friendly food, it delivers real nutritional value without requiring specialty ingredients or complicated preparation.

Is Acorn Squash Worth It?

For someone learning more about frugal living, gardening, and food preservation, acorn squash feels like a smart place to start. It’s affordable, easy to grow, easy to store, and forgiving in the kitchen.

Trying new foods like this has been a reminder that frugal living isn’t about deprivation. It’s about learning how to use what’s available, stretching what you buy, and building skills that actually make life easier in the long run.

If you’ve been eyeing those acorn squash at your grocery store or Farmers Market and wondering if they’re worth it, I’d say yes. Sometimes the simplest foods turn out to be the most useful ones.

Related: Meal Prep for Mortals: Easy Freezer Meals for Busy Weeks

Lisa Crow contributed to this article. She is a true crime junkie and lifestyle blogger based in Waco, Texas. Lisa is the Head of Content at Gigi’s Ramblings and Southern Bred True Crime Junkie. She spends her free time traveling when she can and making memories with her large family which consists of six children and fifteen grandchildren.